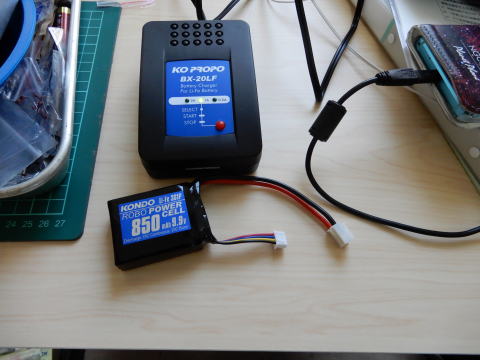
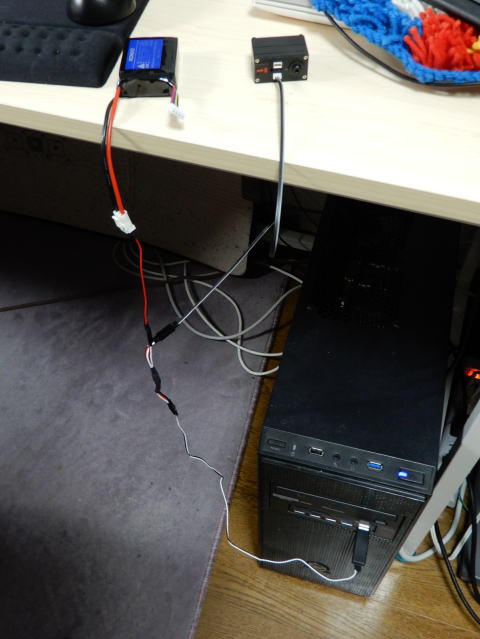
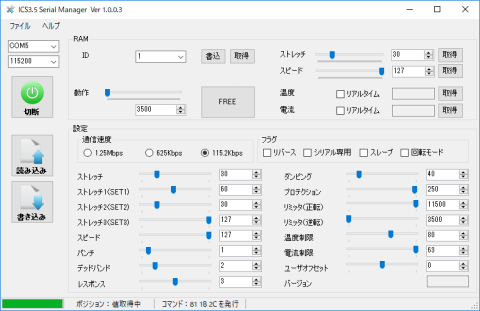
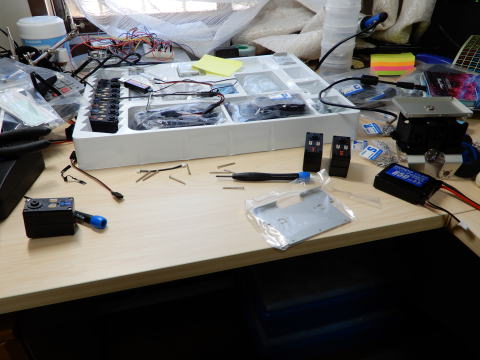
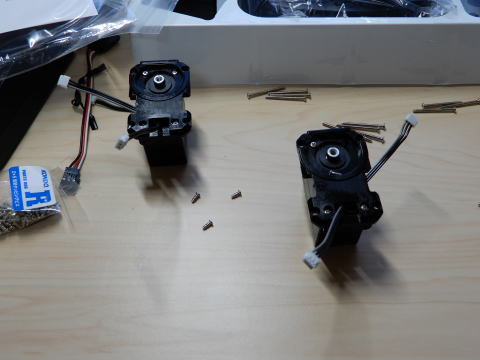
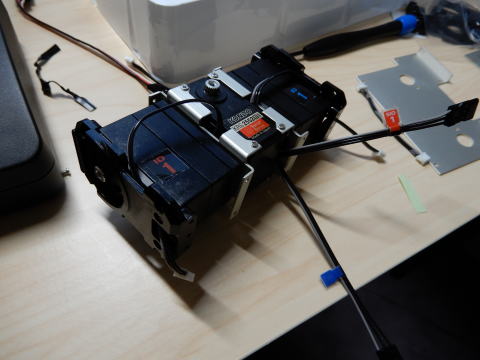
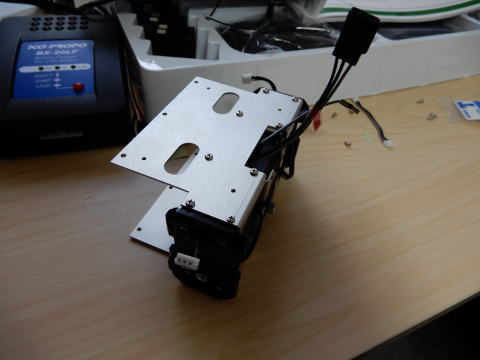
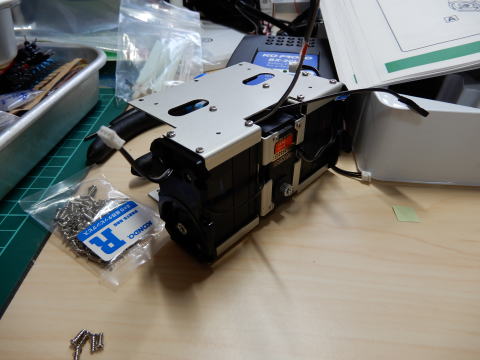
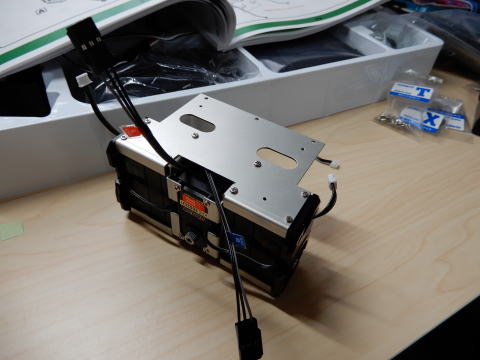
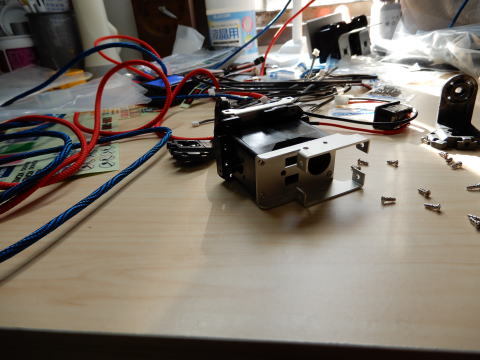
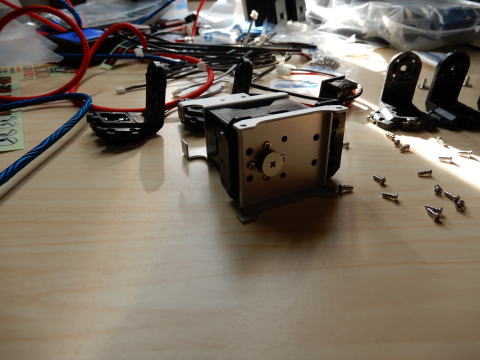
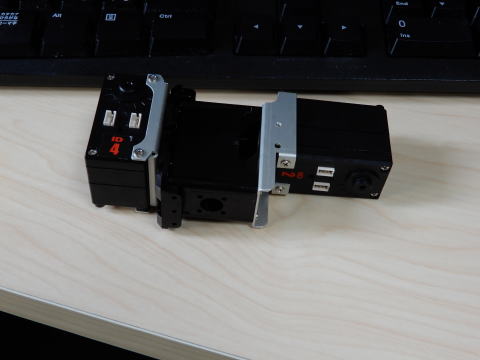
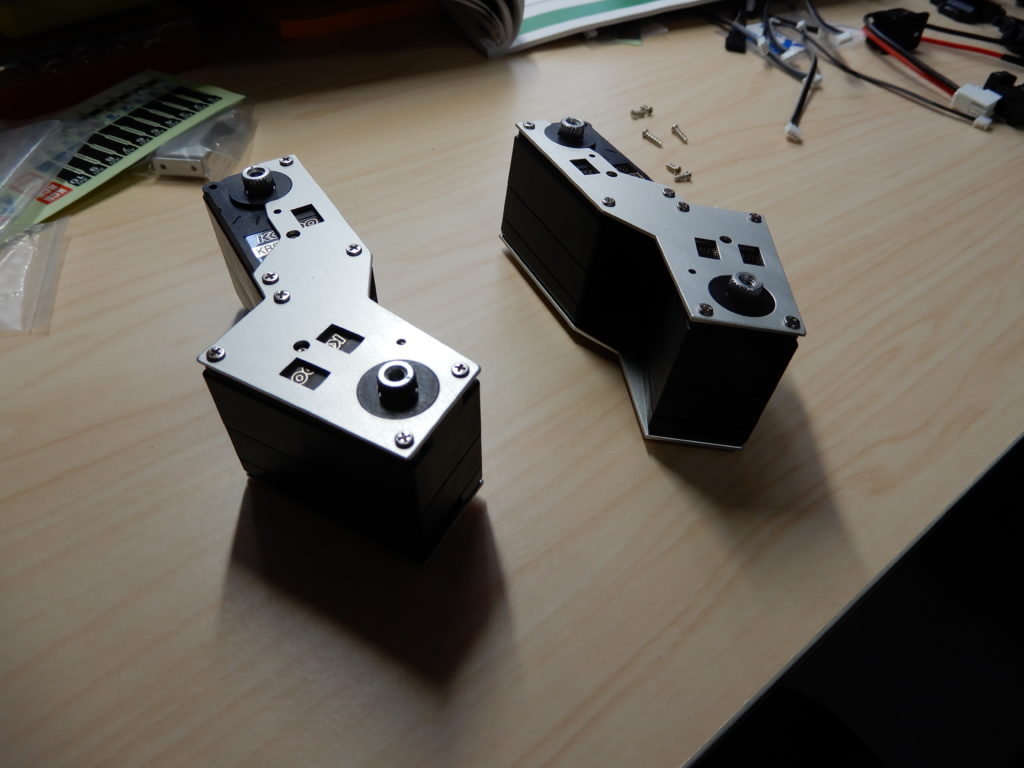
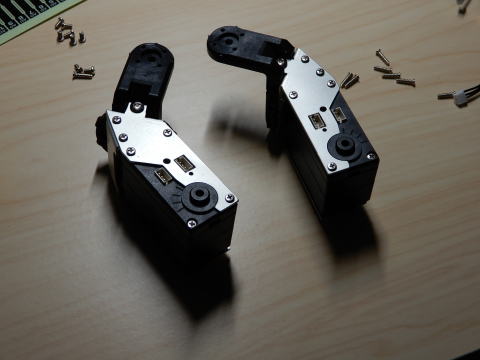
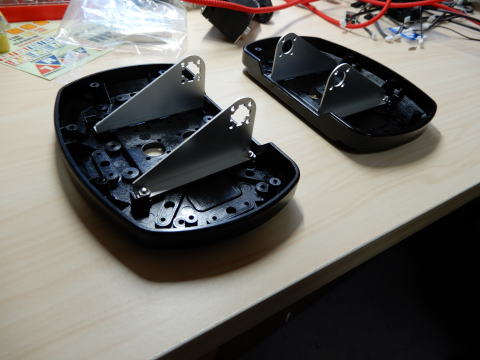
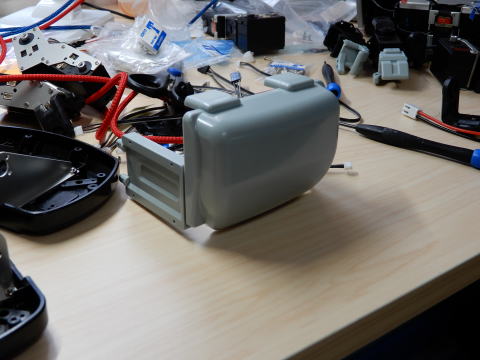
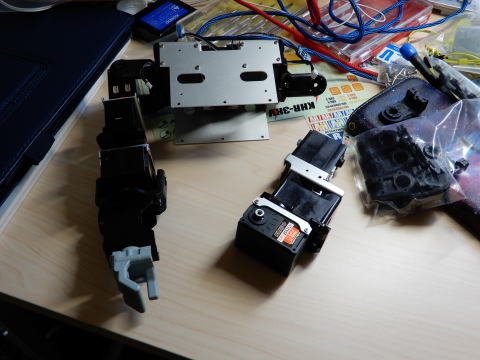
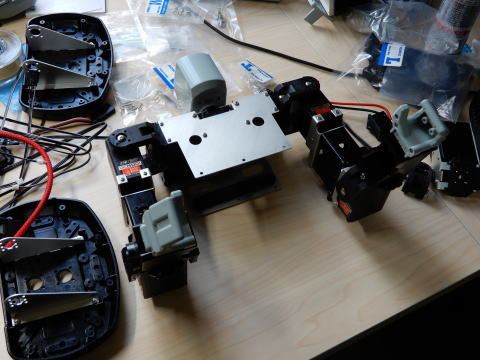
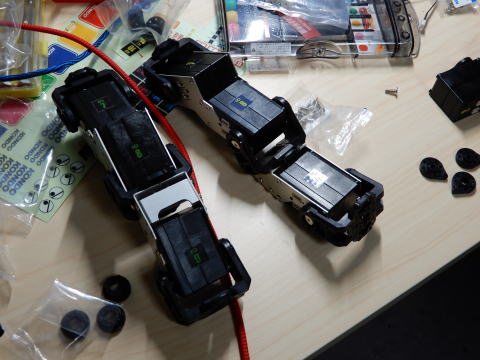
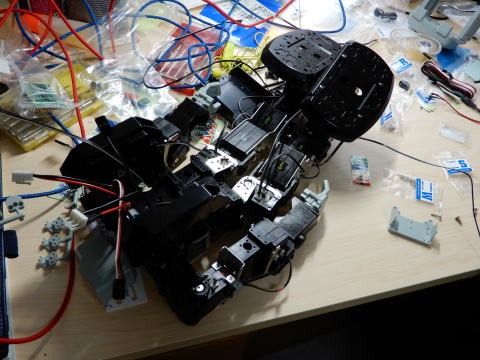
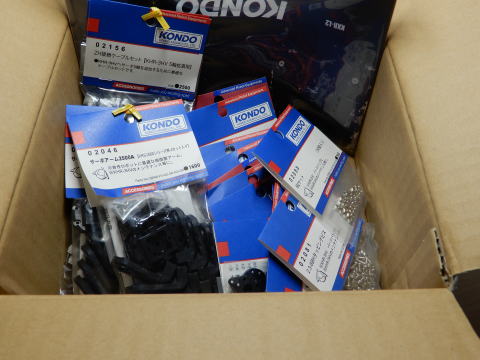
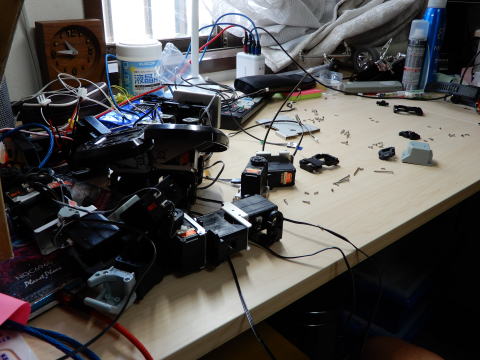
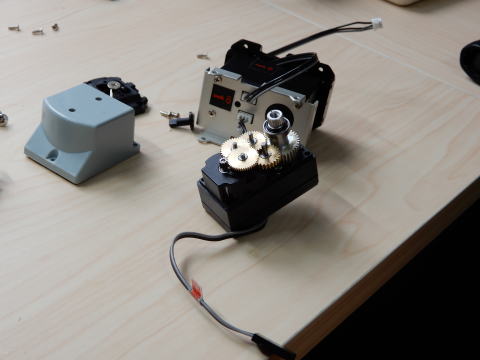
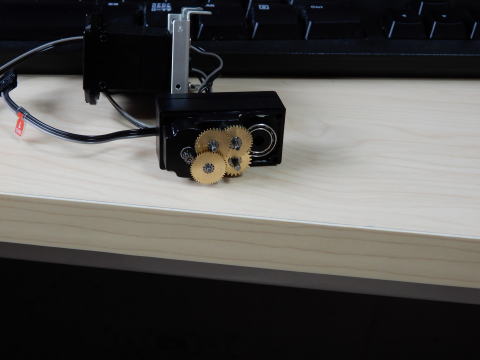
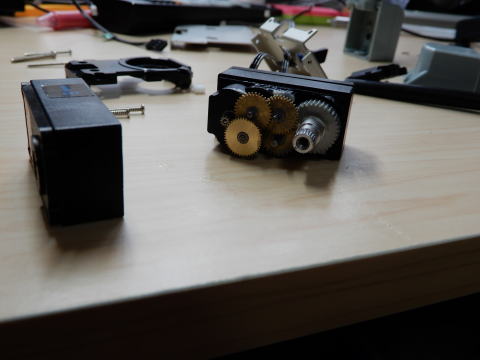
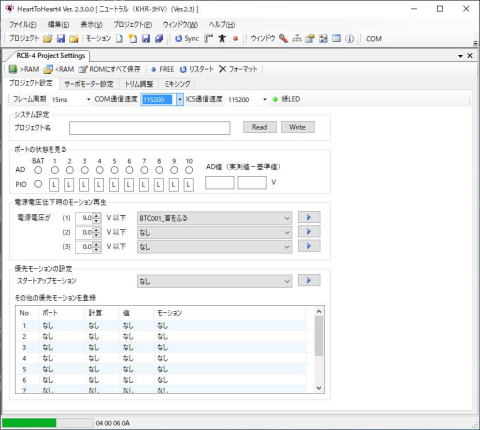
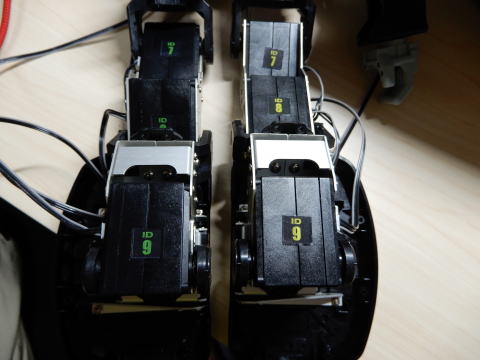
HomeRobotKHR-3HV KHR-3HV About Assembling KHR-3HV Firs charged the battery. Calibrated all the Servo Motor by USB connector. Installed the Developing Environment from KHR-3HV’s CD-ROM. Calibrated the Motor.Without updating the Driver, the COM Port can’t be recognized,so it took plenty of time to find the Driver’s Directory. Serial Manager’s Display,which we can Control the Motor one by one. Servo Motor’s movement.Took a black point by White Board Marker for emphasizing indication. Assembled the Main body after Motor’s Calibration. Turning the screw, there was one that can’t go far inside completely, and the Plus Driver got out of order.My Thumb and the Index Finger got exhausted, and there was no magnet attached on the Driver to turn the tiny Screw so it was a hardship. Assembled the Chest. The following is the arm’s assembling. Assembled the Hands. Assembled the Legs and Feet. Thighs. Legs. Feet. Made the upper part of the body like Front Cowl.Upper Arm and Bottom Arm’s Parts need to handle with care. Both Arms and Head are Made. Assembled both Legs. Ordered Extra since there was no Screw. Bought at Kondo-Kagaku’s online store. Disassembled since the connector of the wiring under the head. Servo Motor’s inside view. This kind of thing has occur, though with Directly Inserting the cable,and “Making COM Communication Speed and ICS communication speed, matching”, I can Write the ROM. RCB-4HVにの電源をONにすると瞬間的に赤と緑のLEDが点灯しますがすぐに消えてしまいます。 Heart to Heart 4 (HTH4)’s image. KHR-3HV’s ROM writing. Fixed the legs symmetric since the Legs were different Right and Left,Assembling them. It is said that we need to adjust ALL Servo Motor’s 0 point,because it will once start the motion after “Neutral Position”. Neutral PositionAll Servo Motors go to 0. Start PositionAll Servo Motors go to 0. Home PositionOriginally Registerd Position. Trim PositionDifferential from Home Position